canvas portraits

Category: DIY | November 15th, 2011

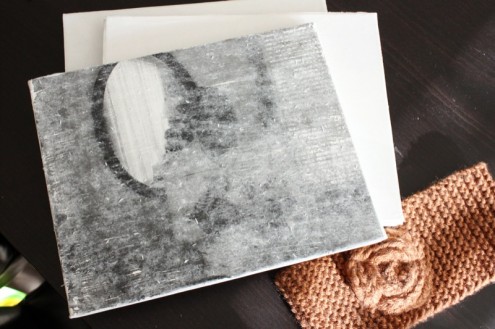
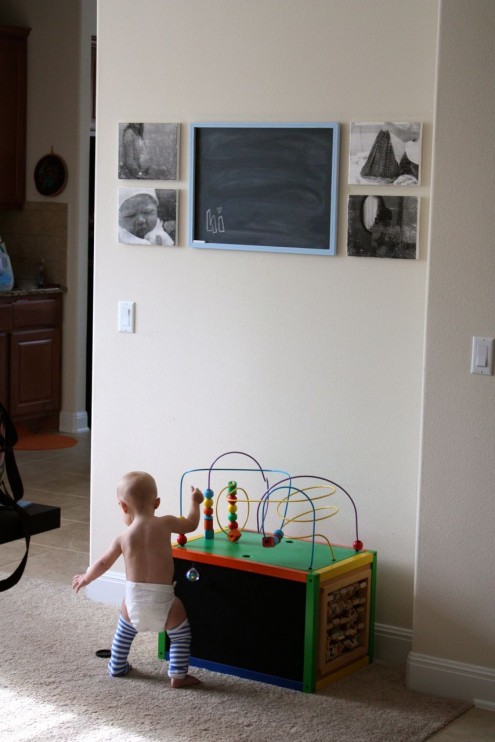
remember this post?? well i finally finished! i used elsie’s DIY canvas portrait tutorial. i just used four 8×10 canvases and printed out the photos on regular printer paper. i might have rubbed off the paper a little too much, oops! but i still love them. totally going for the vintagey look. ;)
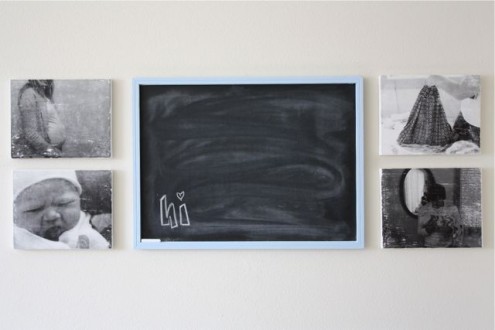
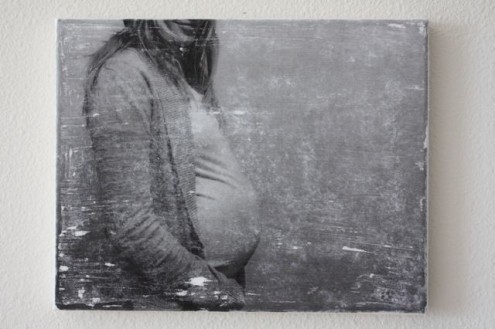
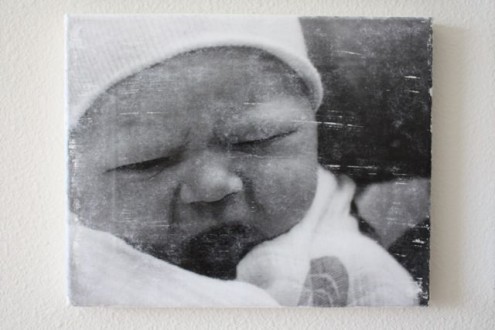
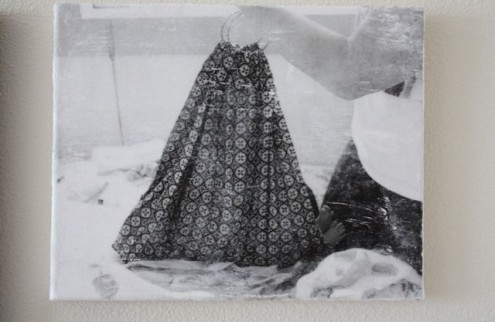
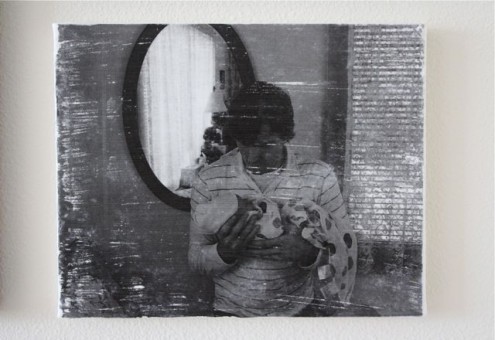
photo 1: last belly series pic i had before P was born, and 2, 3, & 4: the day she was born, being weighed, and being held by her daddy. i think i’m going to do something to the edges to spice it up a little and add some color. maybe some fabric or glitter…ha the mister might not like the glitter. ;) but right now i will admire them and the wonderful memories of that amazing day.
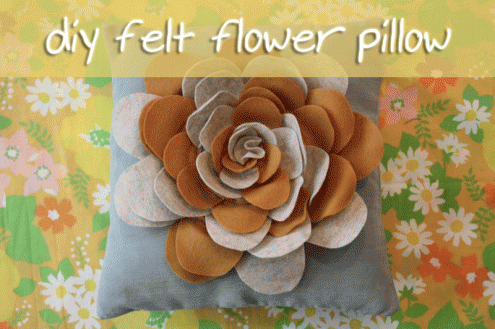
DIY felt flower pillow

Category: DIY | November 9th, 2011


it’s about time for a little DIY action over here. you can never have too many throw pillows!


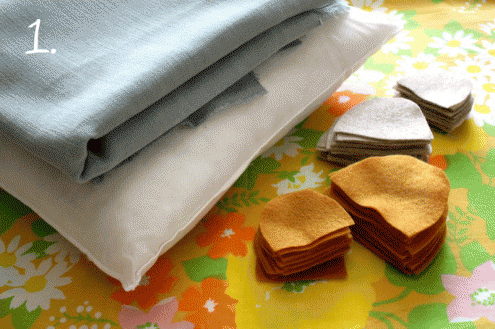
1. materials: i had some lovely grayish blue corduroy fabric that needed to be made into something. i went ahead and used two different colors of felt for the petals but one color (or lots) looks great too. i just winged it with the petals and didn’t worry about exact shapes and sizes. you need lots too!
*** i didn’t take pics on how i made the actual pillow case, but i found rachel’s lovely envelope pillow case tutorial over HERE. which is pretty much the same way i did mine. super easy!
*** before you sew the front and back pieces together you will want to sew the petals on the front piece first! makes life much easier that way.
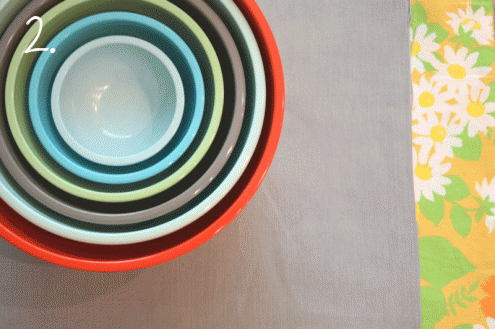
2. find your mixing bowls to trace for the circles. (or anything you like, but these really worked).
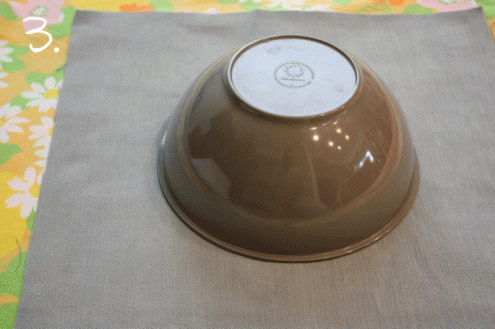
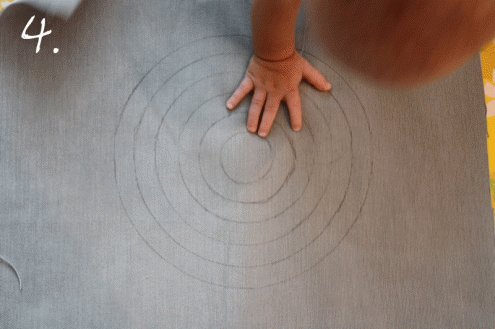
3. i started tracing the top part of the bowls and eventually used the bottom part for the smaller circles. they ended up being about every 1/2″
4. this is what mine looked like. i just traced with a pen. (love her wrist roll) :)
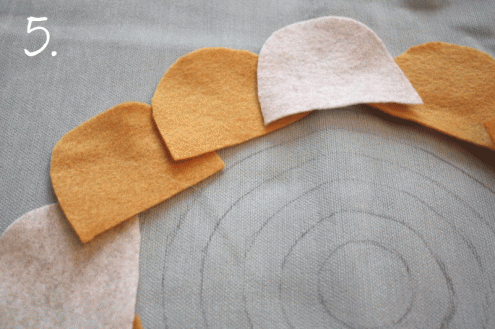
5. start laying out the order you want the petals to be in. i overlapped mine a little bit.
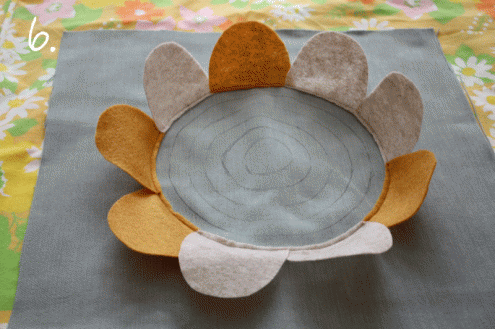
6. now start sewing! i followed the circle with the petals which made the petals stand up a bit.
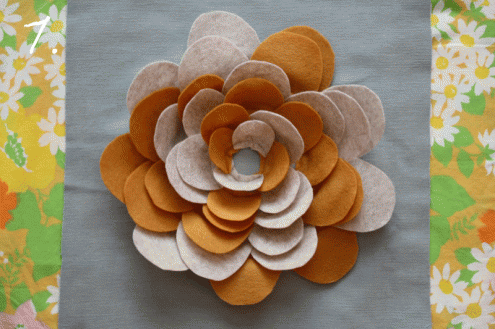
7. this is what it looks like when you get to the last circle.
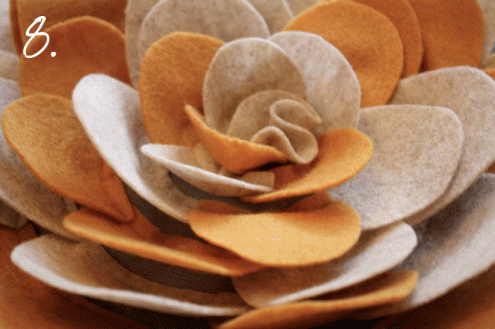
8. for the middle i just took a one petal and hand sewed it down. i almost did some beads or buttons in the middle. that would look cute too!
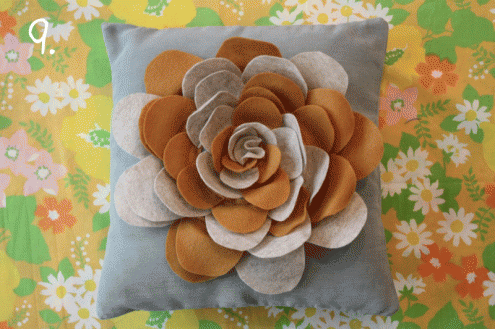
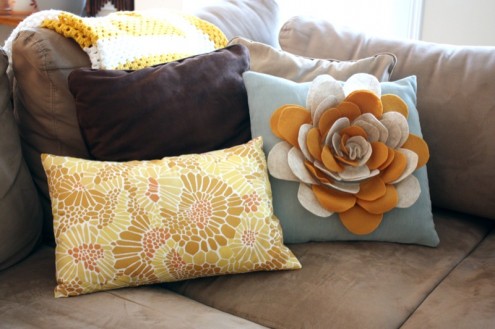
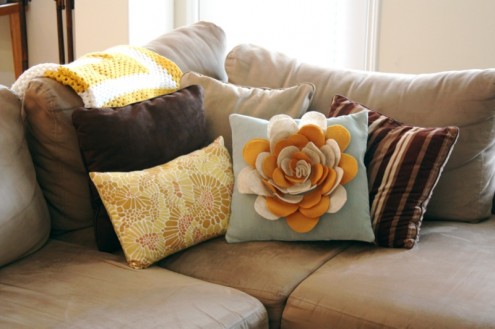
9. now you can sew the front and back pieces together using rachel’s tutorial and yay! a new, fun pillow! these would be great for Christmas coming up too!


slowly but surely adding some color to this home. :) let me know if you try this tut yourself!!

tulle cutting short cut

Category: DIY | October 28th, 2011

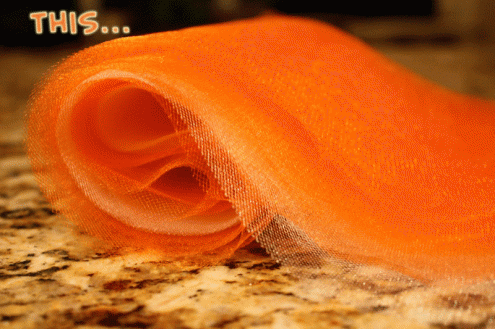
for all those out there who want to make these amazing no sew tutus (there are tons and tons of “tuturials,” so i didn’t do one) BUT i wanted to share this little, but amazing, short cut on cutting the strips of tulle. i first saw it here. it’s genius (and if you already knew this then you are even cooler).

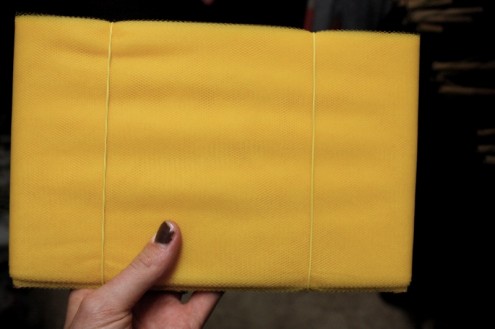
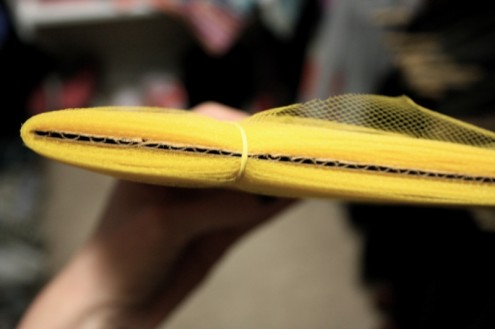
take a piece of cardboard and cut it to the size of what length/width you want. i did mine 6in wide x 8in long. (for itty bitty tutus you don’t want them too long esp if they are crawling, so when i fold them in half and tie them on the elastic/ribbon they are a little less than 8inches.)

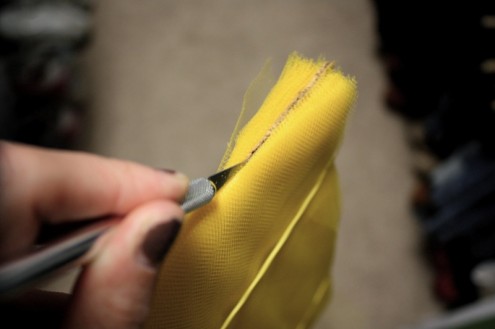
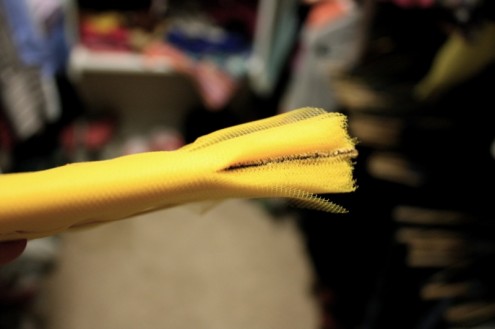
so wrap it around the cardboard however many times you need it (i use the spools that are already cut 6in. life saver). wrap it with a rubber band to hold it in place and cut down ONE side. i used an exacto knife. worked great. and there you have it! tons and tons of tulle in the same length.

just thought i’d share with y’all in case you want to make one and don’t like going crazy over cutting tulle. :)