mini makeover

Category: DIY | October 5th, 2011

so it’s been super quiet on the blog but we’ve been super busy over here. a good busy. i have been a bow and headband making fool over here. it’s so much fun!!! even if i don’t get nearly as much sleep as i should and i look tired all the time. haha. i love it. i did however manage to squeeze in some me time the other day and got my hair did. :) if you know me then you would know that it has taken me YEARS to grow my hair out this length so i am not about to cut it off. i want to enjoy it for a little longer, but clearly i got bored with it so i colored it. and thanks to my sweet/honest/straight forward friends (lol) they suggested red. and of course thanks to my fav hair salon ever- Lush! so here it is……AND i love it!
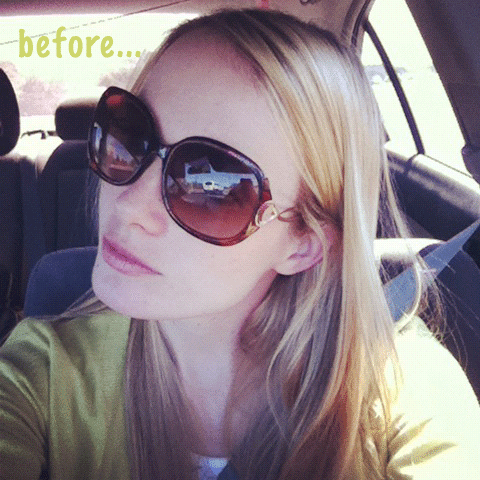

eeeek! fun. i joined the redhead club. here’s another pic in better lighting to show the redness. :)

thanks again vanessa! you’re amazing! :)
spray paint

Category: DIY | September 27th, 2011


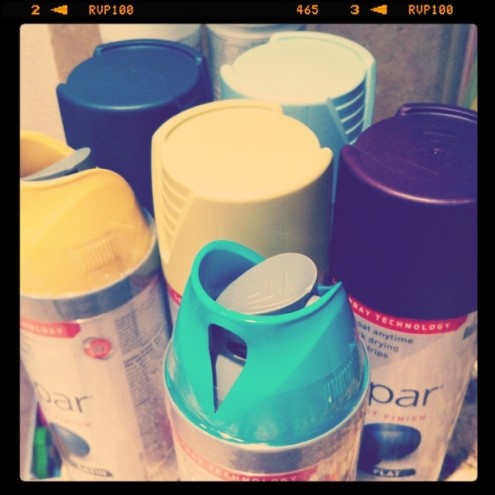
people…get ready for lots of spray paint projects! just got these new colors and i plan on going to town with them. maybe i’ll have a spray paint project week next week! it’s pretty much the easiest/faster makeover tool ever! now i just need to find the time!!

day 5: fabric magnets

Category: DIY | August 12th, 2011


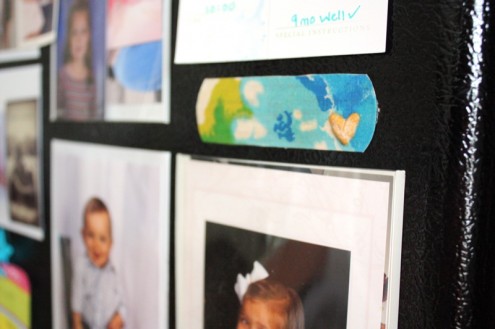
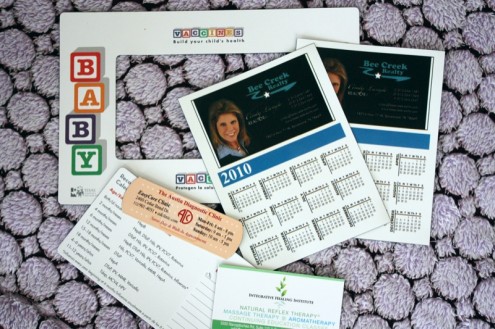
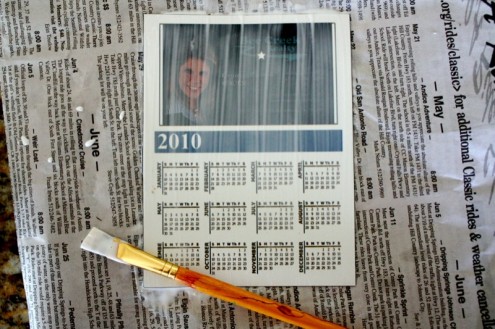
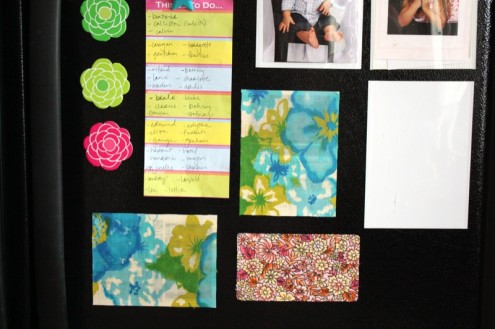
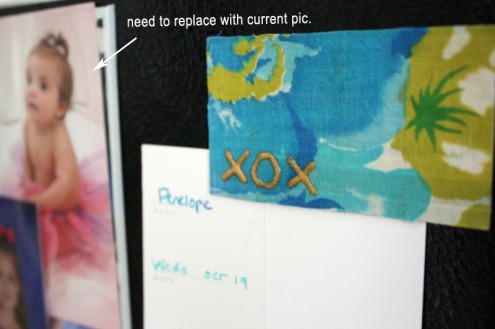
yay friday!! today is also the final day in the makeover week! so last but not least….fabric magnets! :) take your boring/old magnets that you kept because you knew you were going to do something with them eventually, some fun fabric (i used the leftovers from this project) and the ever so lovely mod podge! if you don’t have this stuff then get it. you will find stuff to use it with. ;)


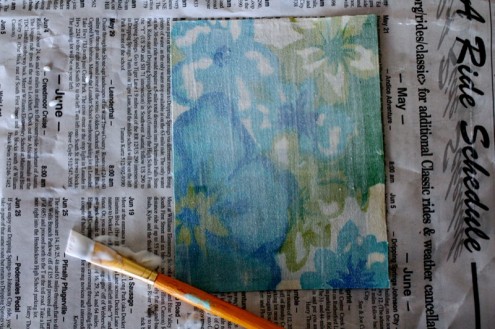
all you do is smother the top of the magnet with mod podge and place the fabric on top, smoothing out all bubbles or wrinkles. trim off the excess fabric. and then smother some more mod podge on top of the fabric. let it dry. and then let it look pretty on your fridge! :) ***tip: try not to use see through fabric over an old magnet that has text/images on it. won’t exactly cover it up. :)


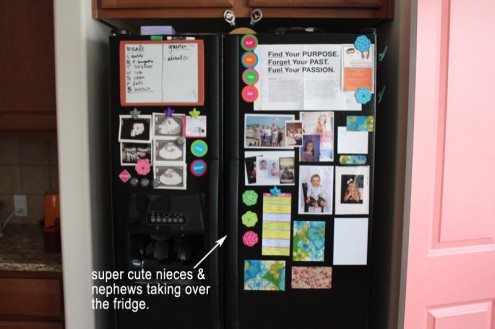
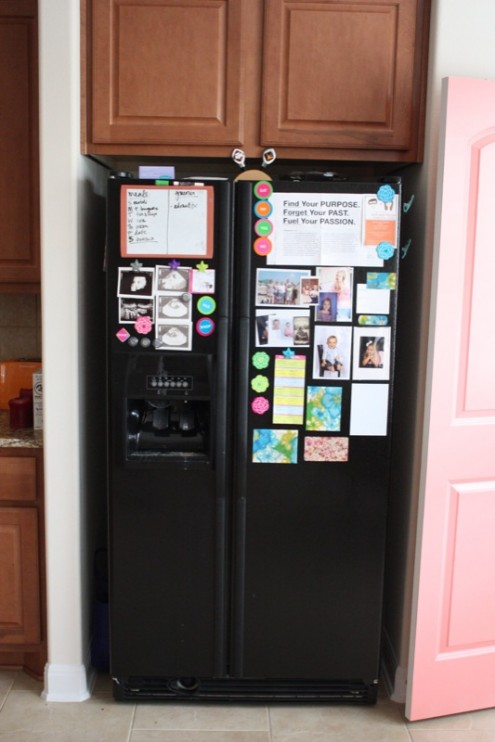
i don’t think i have enough on my fridge. ;) thanks for joining my makeover week! if you want to be featured on PLC for your simple makeover then let me know!

day 4: spray paint letters

Category: DIY | August 11th, 2011


hello! this is probably the easiest makeover for this week! just one step. can’t get much easier than that.


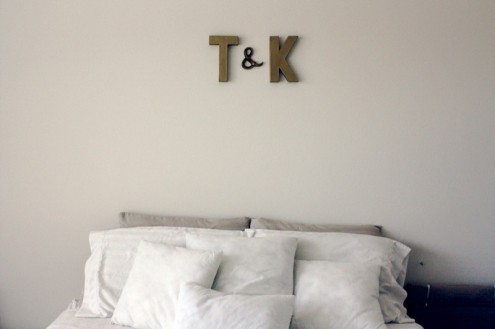
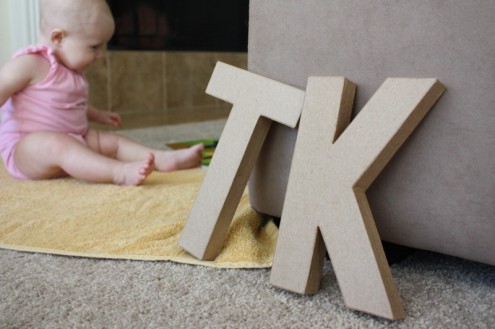
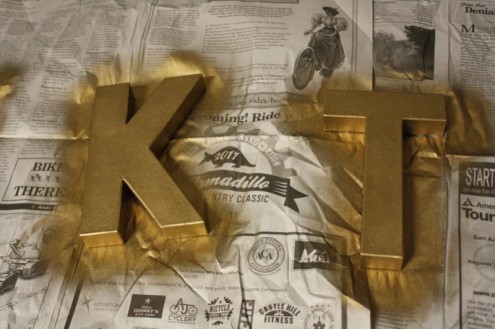
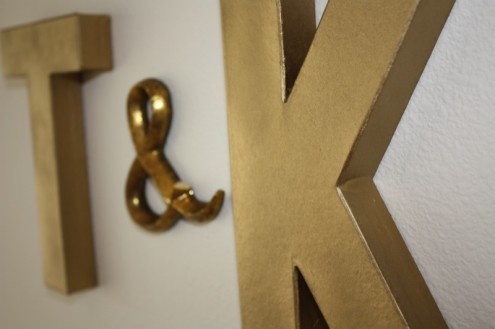
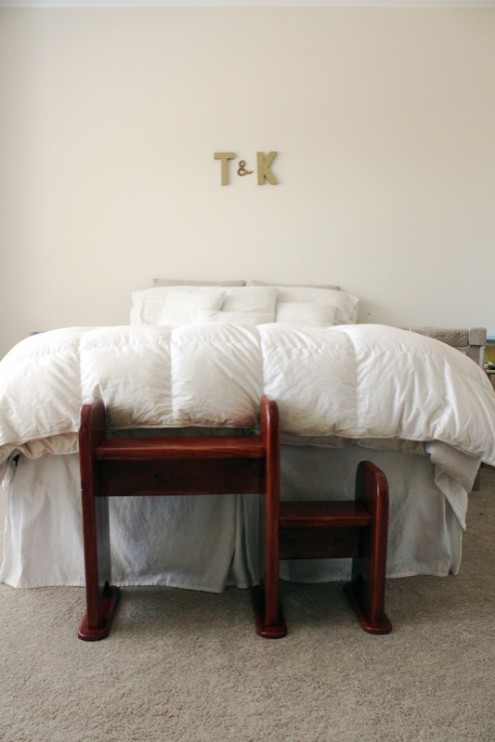
got these letters at hobby lobby. love. that. place. spray painted them gold. one coat. and that’s it! hanging them up perfectly, however, was not as easy for me. made a couple extra tiny holes in the wall. i think if you look extra close the & is a little crooked. but i don’t care. adds character. :)

i love how it turned out. so simple. i know the mister likes it…he’s all about less is more. where would you put your letters?? oh and all those white throw pillows…they look white because they have no covers. lol. that’s my next project once i find some fabric i like. :)

***AND check out another new addition at the foot of our bed that we got this past sunday. it’s our prayer alter that was so lovingly made by amazing church friends of ours. not gonna lie, i got a little teary eyed when i saw the little section for P. how sweet is that??

day 3: painted sticks

Category: DIY | August 10th, 2011


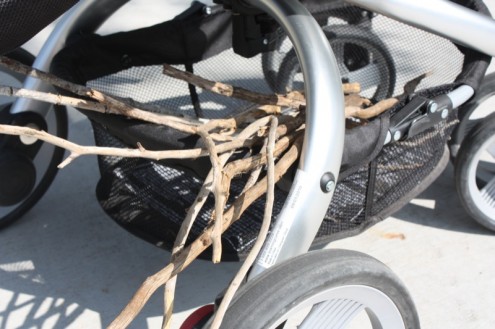
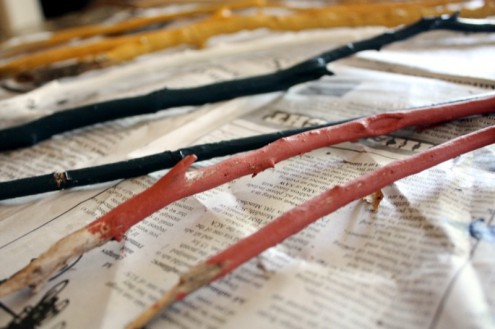
happy wednesday! today is another simple makeover. here’s what you do…get your buddies and go on a nice little walk. molly panda so kindly helped me find all these sticks.


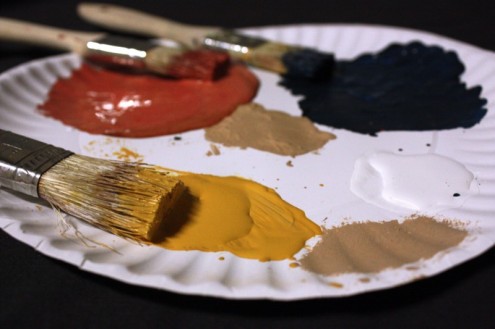
then you take your paint and paint brushes and go to town. and done.


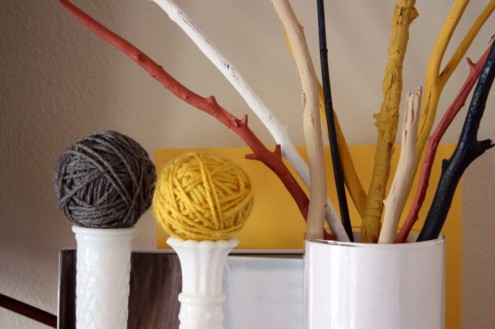
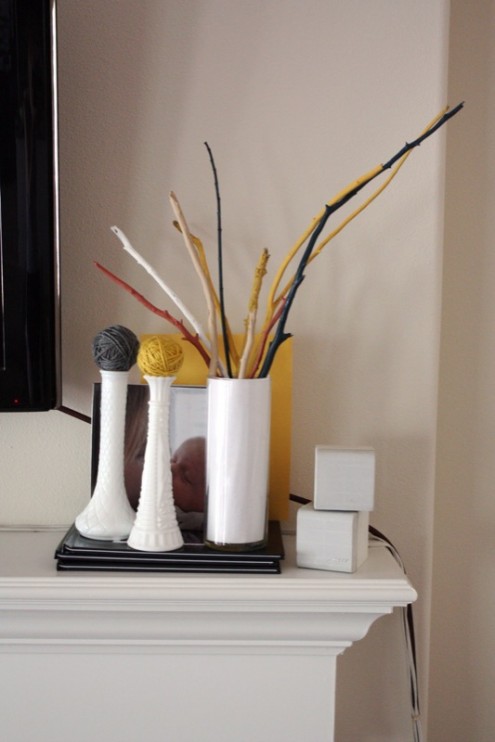
then put your fabulous sticks wherever you please. i’m thinking this is a temporary vase. still working on the mantle decor…just pretend that big cord isn’t there. ;) (oh and that book behind the vases is of Penny when she was born, from my mom. LOVE it.)

what piece of nature can you turn into art??