lovely guest post~happy together!!
Category: DIY | August 10th, 2010happy tuesday everyone! as you can tell i have been slacking on my posts, but jessica is here to save the day! thank you!! her awesome blog over at happy together is super cute and she has created so many great projects. if you haven’t checked it out then go do it! (after reading this post of course) :)

I’m a full time momma and Coastie wife who loves to create. I share all kinds of things over at my little place on the web.
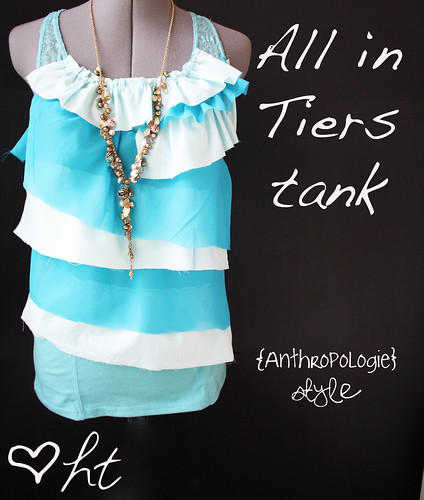
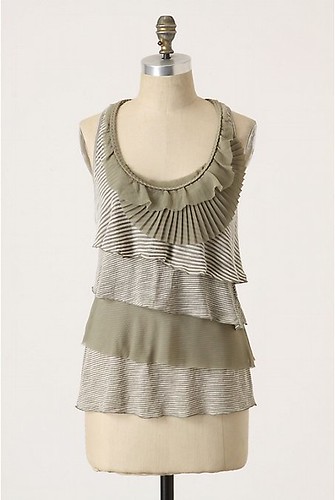
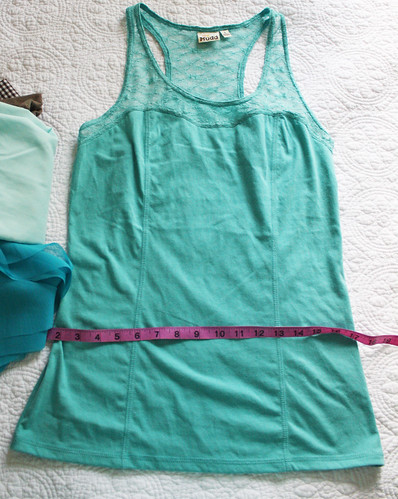
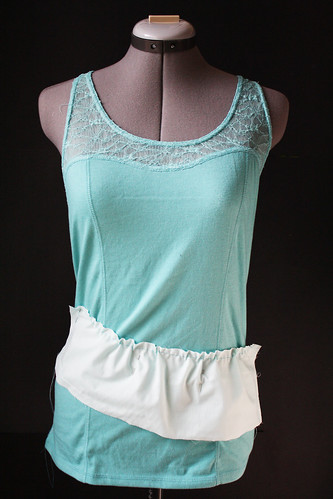
The above picture is a shirt from Anthropologie. It is similar to the one that a reader suggested I do a tutorial for. It’s so cute, why not? I wasn’t able to find any fun knits in time to do this, but as you can see, a lot of fabrics will work. It’s all about the look you are going for.To make this, you will need a knit tank top, some fabric, scissors, pins, measuring tape, and all the sewing stuff. Make sure you use the correct sewing machine needles for the type of fabric you are working with. The following tutorial is just kind of a broad how to, as each persons tank top will be different.
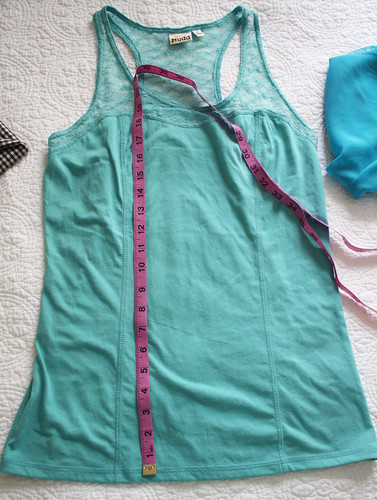
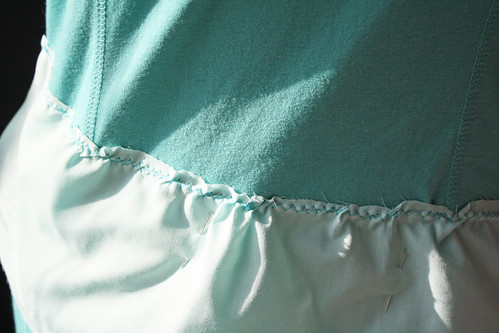
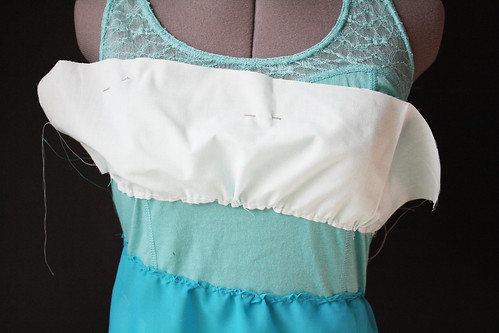
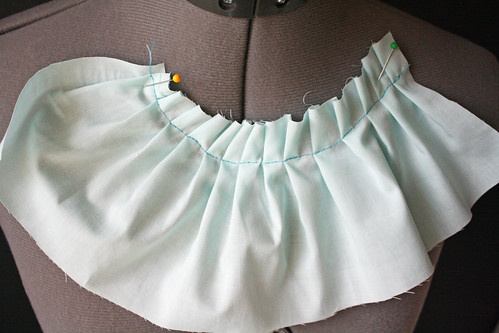
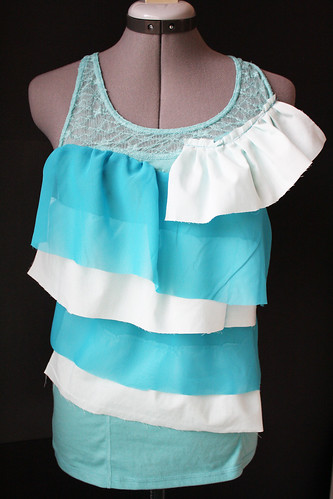
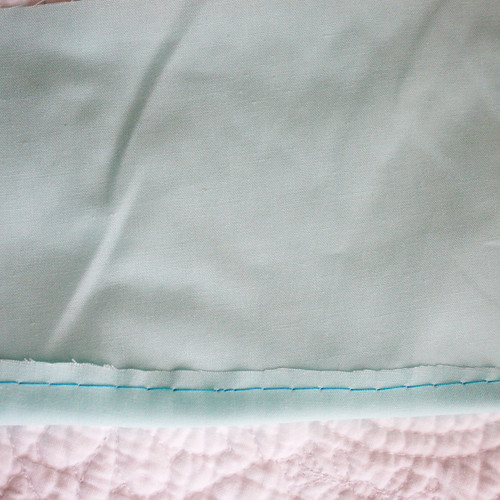
For the neck ruffle, I wanted it to look a bit cleaner, so I folded the top down towards the wrong side of the fabric and sewed in place. Then I basted and gather a little farther down, pinned it on, and sewed it on with a long straight stitch.You can really do some fun things with ruffles and pleats. Use your imagination and have some fun. I’m sorry I don’t have any pics of it on a person, but I’m currently without a photographer to help me out.
Pingback: Free Sewing Patterns: Women’s Clothing | married to a bmw()