DIY fabric dry erase calendar
Category: DIY | December 5th, 2011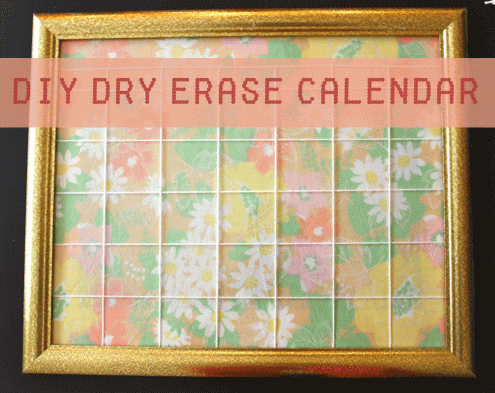
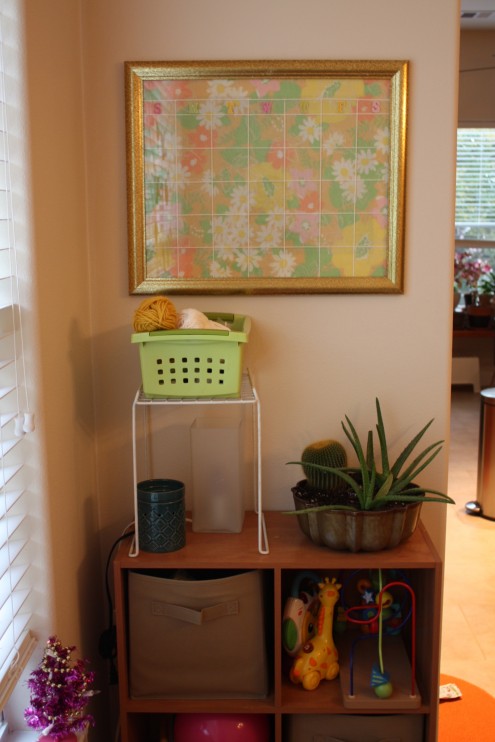
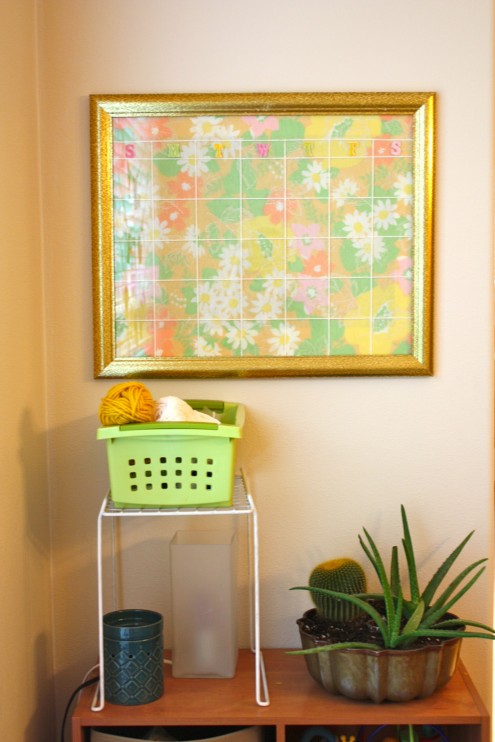
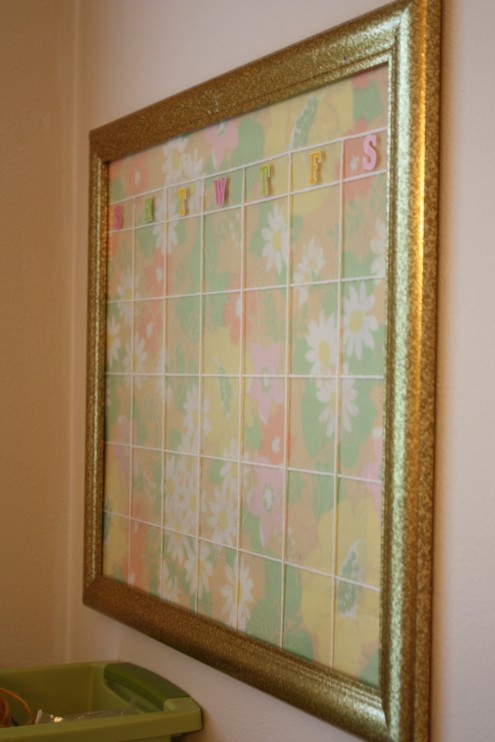
remember this calendar i put together awhile back? yea…it needed a makeover. so here’s my fabric dry erase calendar version. (i finally used my vintage sheet for something!) there are tons out there so you can get real creative with these things.
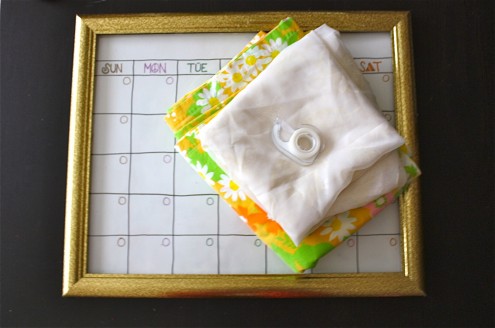
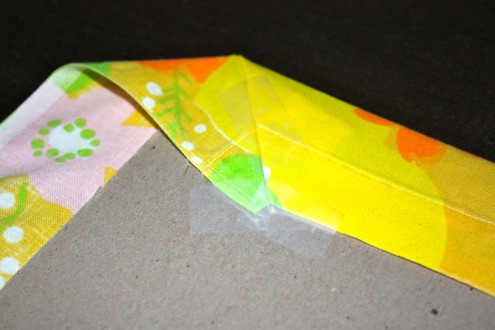
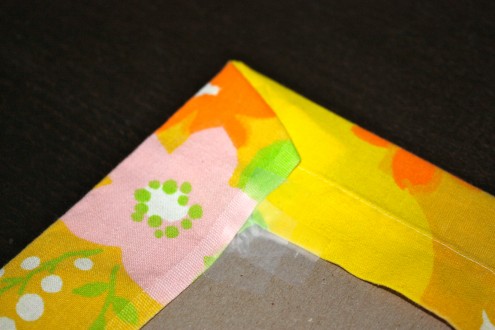
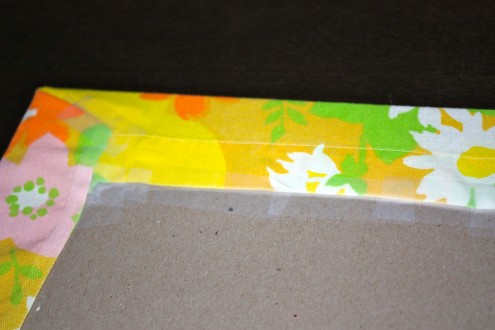
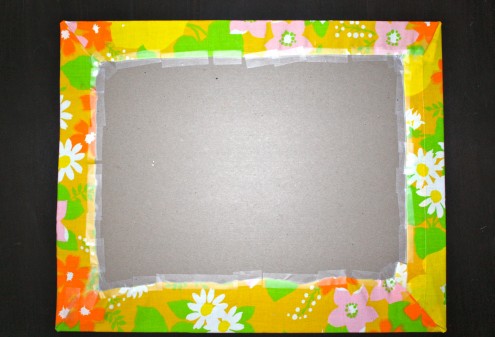
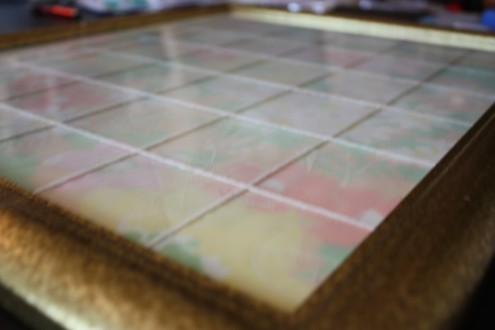
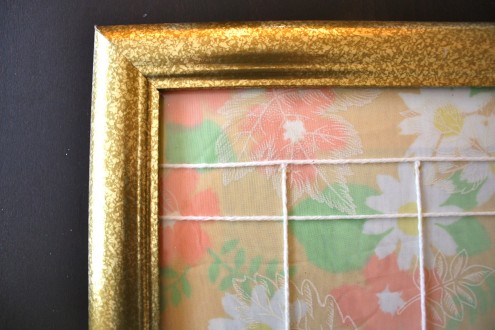
1. materials: frame with glass, cardboard backing that usually comes with the frame, fabric (not too busy or dark, so you can see what you write), tape (optionals: yarn, hot glue, stickers)
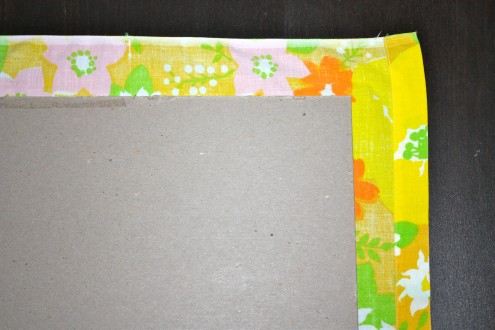
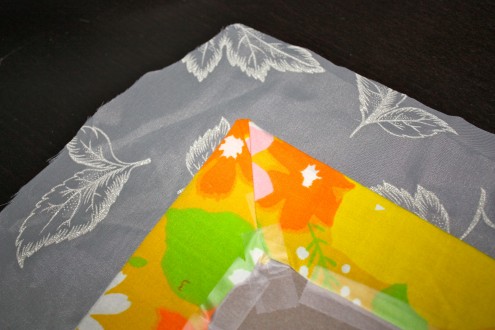
2. cut fabric bigger than the cardboard. mine was about 1 1/2″ longer on each side (just enough to tape it down)
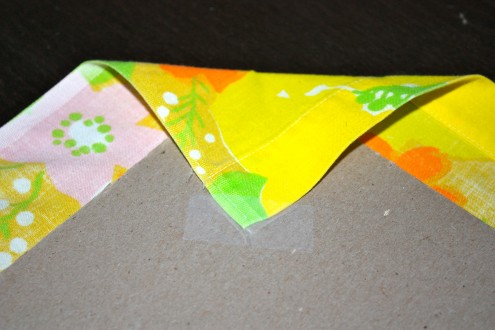
3. start taping down the corners. middle, then one side, then the other.
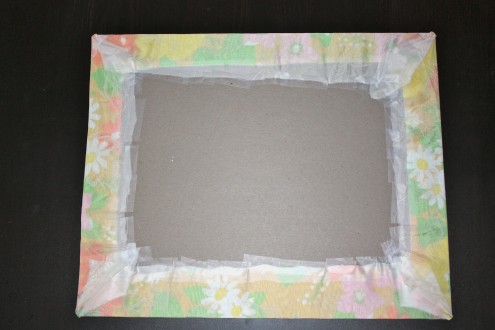
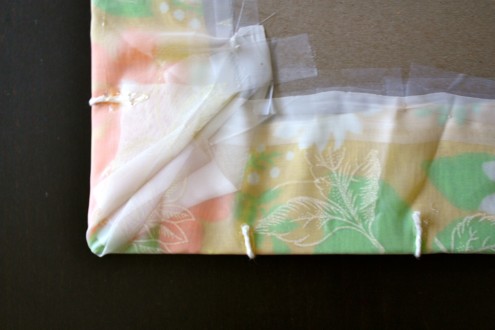
4. tape down all the remaining sides to the cardboard (don’t worry about it looking pretty…no one will see it) :)
5. **i did another layer of fabric because the floral fabric is too bright for the mister so i toned it down with some sheer fabric. :) so do the same exact thing with the second layer
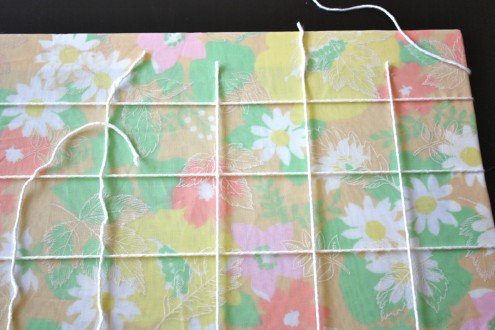
6. i measured out all the lines on the back and hot glued pieces of yarn to make the dividing lines. this is such an easy way to get straight lines, plus it adds a little texture to the calendar.
7. put the cardboard into the frame and yay!!
8. i used stickers for the days which is a nicer look than my handwriting. ;)
9. now hang it up and enjoy your new calendar with dry erase markers! easy peasy.
options:
* if you have foam board on hand you can use that as well and use pins to pin in the fabric. i didn’t have any, so tape it was.
* you can use markers/pens for the lines as well
TIP: make sure your fabric is not too bulky that it won’t fit into the frame.

***Uprinting poster print giveaway winner is: KERRY! (email me your mailing address and print of your choice!)
thank you ladies for entering. :)