diy wall yarn art
Category: DIY | October 8th, 2012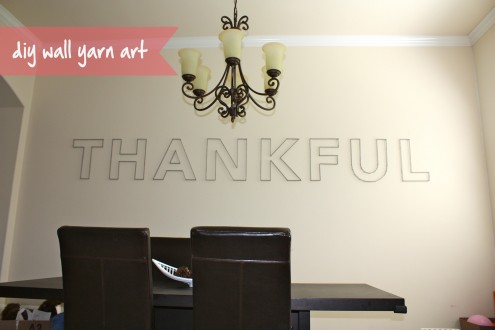
so remember the pinterest challenge i posted about awhile back? well i surprisingly have been doing it! ;) however most of them have been recipes. i mean, a girl has got to eat right? however this is one “challenge” i thought i would post about. i have had this pinned for quite some time and it’s always been in the back of my mind to do. so i was excited when the mister had a few hours to help me otherwise this would have been a week long project for me (not that it would really take one person that long to do it, but with a busy toddler and being super pregnant it might). i went ahead and did a little tutorial for y’all…however there are several ways to do this. (this was the best way for us…to fulfill the mister’s OCDness) ;)
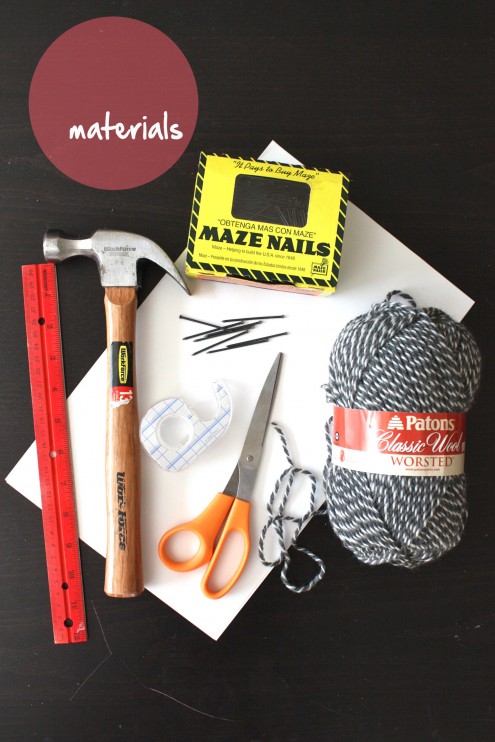
materials: ruler, hammer, nails (mine are 2″), tape, scissors, paper, and yarn
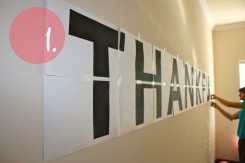
*you can totally free hand the letters but we went ahead and printed them out and taped pieces of paper together to make the desired size. (ended up being 18 inches tall)
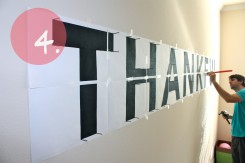
1. once you have your template, tape it to the wall.
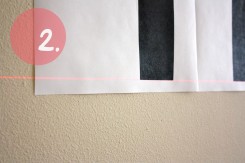
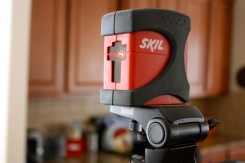
2. we used this nifty laser level thing that the mister has to make sure the word was lined up. this thing has come in handy quite a bit!
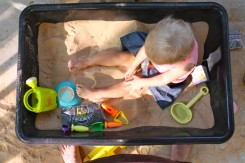
*take a break and play with your very patient toddler. :)
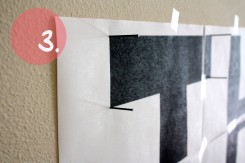
3. hammer in nails in each corner….and be sure to double check every corner.
4. go through and measure each nail to have a desired/matching length showing. (we left about an inch out).
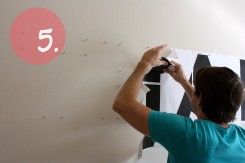
5. tear off the paper.
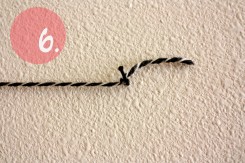
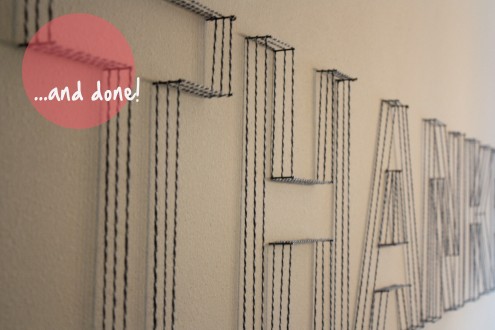
6. on each letter pick a nail and start with a knot and then wrap around to your heart’s desire! i went around 3 times (following the outline of the letter)
*take another play break and enjoy!
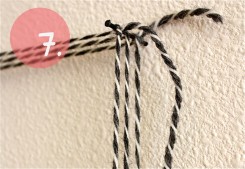
7. finish off each letter with another knot on the same nail where you started. then trim off the excess yarn! and done!
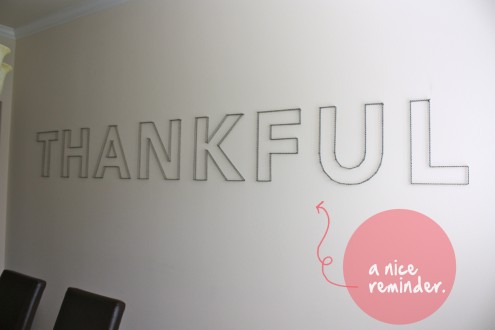
you can even out the layers or just keep it random…depending on your style. i chose a neutral color to start off with since i knew this was going to be taking up a huge portion of our wall (it’s about 12 feet wide). the room is still a work in progress so there’s not too much color in there just yet….i can see myself changing out the yarn color sometime. that’s the neat thing about this project. the yarn isn’t permanent so feel free to change it out whenever. and it’s super easy/fast/cheap! everyone wins. :)